Free No Tarmac tools / Recovery & protection
Recovery gear advisor
What each piece of recovery gear does, which terrain it's built for, and what to carry first.
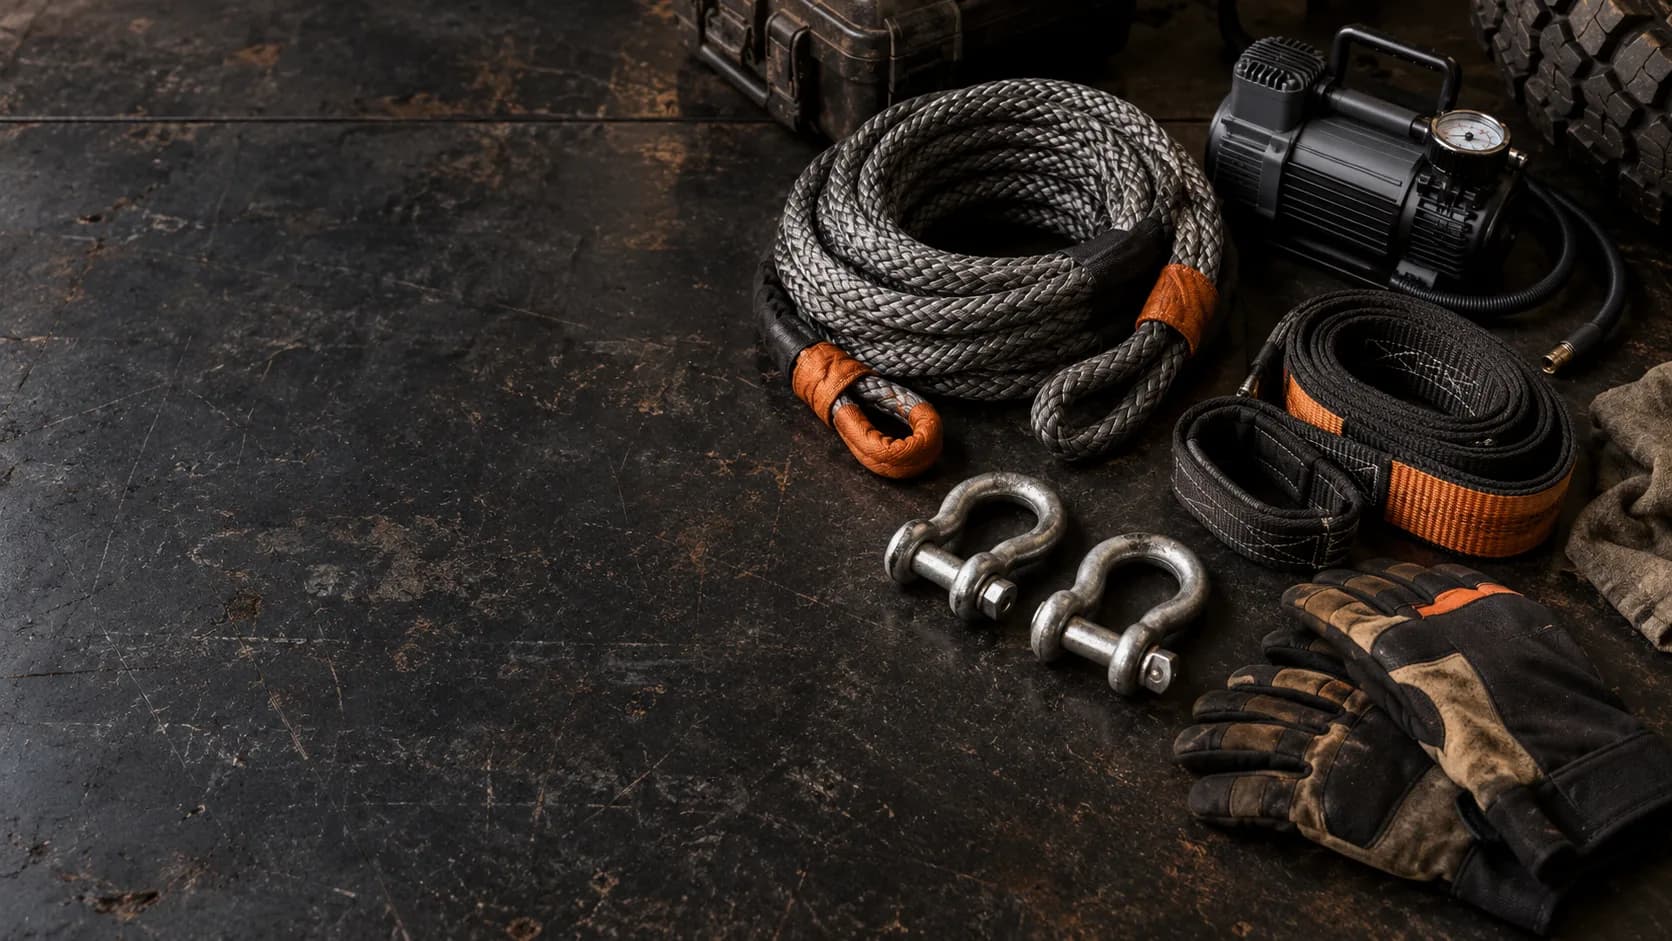
AI-generated representative scene
Quick answer
Start with a kinetic recovery rope (your highest-value recovery tool), then add traction boards for solo self-recovery and sand/mud lift. Back both up with rated soft shackles, a tree trunk protector, and a line damper. A hi-lift jack earns its weight on rocky terrain; a snatch block multiplies your winch pull when the angle isn't straight.
Why we recommend this
- The right gear gets you out of the specific problem you're in — the wrong piece wastes time and risks injury.
- Each recovery tool has a job: kinetic rope for momentum recovery, traction boards for lift + grip, hi-lift for mechanical advantage in deep ruts.
- Carrying the essentials means you can self-recover in most solo situations and help others in a group.
Things to consider
Cost & weight
- A basic kit — kinetic rope, soft shackles, traction boards — is a moderate spend but relatively compact.
- A hi-lift jack is bulky; a winch replaces much of its function for expedition builds.
Terrain determines what matters
- Sand: traction boards first, kinetic rope second — speed and buoyancy matter.
- Mud: kinetic rope for momentum recovery; boards if the bottom is firm enough to support them.
- Rocky terrain: hi-lift for lifting, never in soft ground.
Common beginner mistakes
- Buying a snatch strap instead of a kinetic rope — snatch straps store less energy and are harsher on vehicles and anchor points.
- Using a hi-lift jack on soft ground without a base plate — it sinks instead of lifting.
- Not inspecting gear for UV damage, cuts or fraying before every trip.
Recovery ropes & straps
Kinetic rope is the modern standard — it's gentler on vehicles and anchors than a conventional snatch strap.
Kinetic recovery rope
Recommended firstMomentum-based — the most versatile recovery tool.
Best for
- Mud, sand and most off-road terrain
- Self-recovery when a buddy vehicle is available
- Stores energy and rebounds — gentler on vehicles and anchor points than a snatch strap
Avoid if
- Road towing on public roads — kinetic ropes are off-road recovery tools only
- Elasticity
- ~20–30% stretch
- Length
- Typically 9–11 m
Snatch strap
Older standard — less energy-efficient than kinetic rope.
Best for
- When a kinetic rope isn't available
- Lighter stuck situations
Avoid if
- Hard or deep recoveries where a kinetic rope's gentler rebound matters
- Worn or bleached straps — replace rather than repair
- Elasticity
- ~10% stretch (less than kinetic)
- Note
- Higher peak shock than kinetic rope
Traction & lift
These get you moving when wheels have lost contact or are buried.
Traction boards
Most versatileLift, grip and bridge in one tool.
Best for
- Sand: slide under the wheel for flotation and lift
- Mud: place ahead of the wheel for it to climb onto
- Solo self-recovery when no buddy vehicle is present
- Running boards in a convoy
Avoid if
- Very soft mud where the board itself sinks before you can use it — anchor to the tow point as a step
- Pair
- Always two — one per driven axle
- Storage
- Bolt-on mounting is cleanest
Hi-lift jack
Mechanical lifting power for ruts and rocky terrain.
Best for
- Lifting a bogged wheel out of a deep rut
- Pushing a leaning vehicle sideways (with care)
- Rocky terrain where a floor jack sinks
Avoid if
- Soft ground without a base plate — the foot sinks immediately
- Sand: combine with a board as a base
- If you don't know how to use one safely — training is essential
- Stability
- Always chock the other wheels
- Mounting
- Secure — it's heavy and tall
Hardware — shackles, blocks & strops
Tree trunk protector
Wide webbing that protects the tree and distributes the load.
Best for
- Any recovery anchoring to a tree
- Distributes load over a wide area — doesn't girdle the bark
Avoid if
- A steel shackle directly to bark — damages the tree and concentrates load on a narrow point
- Width
- Min. 75 mm to protect the tree
Soft shackles
Rated connectors that drop harmlessly if they fail.
Best for
- Kinetic rope ends — if the shackle fails, it drops rather than flying
- Anywhere reducing projectile risk matters
Avoid if
- High-abrasion attachment points — protect with a sleeve or use a bow shackle
- Check
- Load rating stamped on the shackle
Snatch block
Redirects or doubles the winch pull.
Best for
- Improving winch angle when a straight pull isn't possible
- Doubling the winch's effective pull (at half line speed)
- Effect
- 2× pull / ½ speed
Gear care, inspection & safe use(pre-trip checks, storage, safe practice)
Pre-trip inspection
- Inspect kinetic ropes and snatch straps for UV-bleached fibres, cuts, abrasion, stitching separation at the eyes, or swelling from repeated hard pulls — any of these mean the piece should be retired.
- Check soft shackles for cuts, thread separation, or core damage; hard shackles for cracks, pin thread condition, and freedom to open and close.
- Traction boards: check for cracked mounting points and excessive wear on the traction pegs — worn boards lose effectiveness in loose terrain.
- Hi-lift jack: operate the mechanism before each trip to confirm smooth action; inspect for bent or damaged sections of the bar.
Safe use principles
- Always attach to rated recovery points — never to bumpers, tow balls or chassis brackets not designated for recovery.
- For kinetic recoveries, lay a damper at the rope midpoint and keep bystanders outside the rope's full length to both sides.
- Hi-lift jacks work only on solid ground; carry a base plate (or use a traction board) to prevent the foot sinking on soft terrain.
- Do not use a kinetic rope for vehicle towing on public roads — kinetic ropes are for recovery on off-road terrain only.
Storage & maintenance
- Store ropes and straps dry, away from direct sunlight, oil, fuel and sharp edges — UV and chemical exposure degrade nylon rapidly.
- After muddy or sandy recoveries, rinse straps and ropes, allow to dry fully before stowing to prevent rot and mildew in the fibres.
- Keep shackle threads lightly oiled to prevent corrosion and ensure they can always be opened in the field; carry a small wrench as backup.
Informational guidance only — not professional advice or a safety guarantee. Follow your vehicle and component manufacturers' instructions, verify against current local regulations, and consult a qualified specialist for safety-critical work.
Where to next
Advanced notes — sizing, terrain-specific priorities & convoy carry list(deep dive)
Sizing a kinetic rope to your vehicle
A kinetic rope should be rated to at least 2× the gross vehicle mass (GVM) of the heaviest vehicle in your group that will need recovering. Under-rated ropes can fail; over-rated ropes are stiffer and store less proportional energy. A 9–11 m rope is the most common length for Indian trails — longer and the geometry gets hard to manage, shorter and there's less stretch available.
Terrain priority guide
- Sand dunes: traction boards first (keep momentum, avoid deep burying), kinetic rope second, air compressor third (re-inflate after air-down).
- Deep mud: kinetic rope for momentum recovery (boards are harder to place in deep liquid mud), hi-lift for lifting a buried wheel.
- Rocky terrain: hi-lift for rut extraction, traction boards as a base plate, kinetic rope if another vehicle is present.
What to carry in a group vs. solo
In a group of 3+ vehicles, the kit distributes across the convoy — not every vehicle needs every piece. Solo, you carry everything you need to self-recover without outside help: traction boards, kinetic rope (if a good anchor exists near typical trails you run), hi-lift, compressor and full repair kit.
General guidance for India conditions. Confirm load ratings on all recovery hardware before use and get training from a recognised off-road school before conducting recoveries in remote terrain.