Free No Tarmac tools / Lighting · touring equipment
Auxiliary lighting advisor
Match the beam pattern to how you drive — and stay on the right side of India's road-lighting rules.
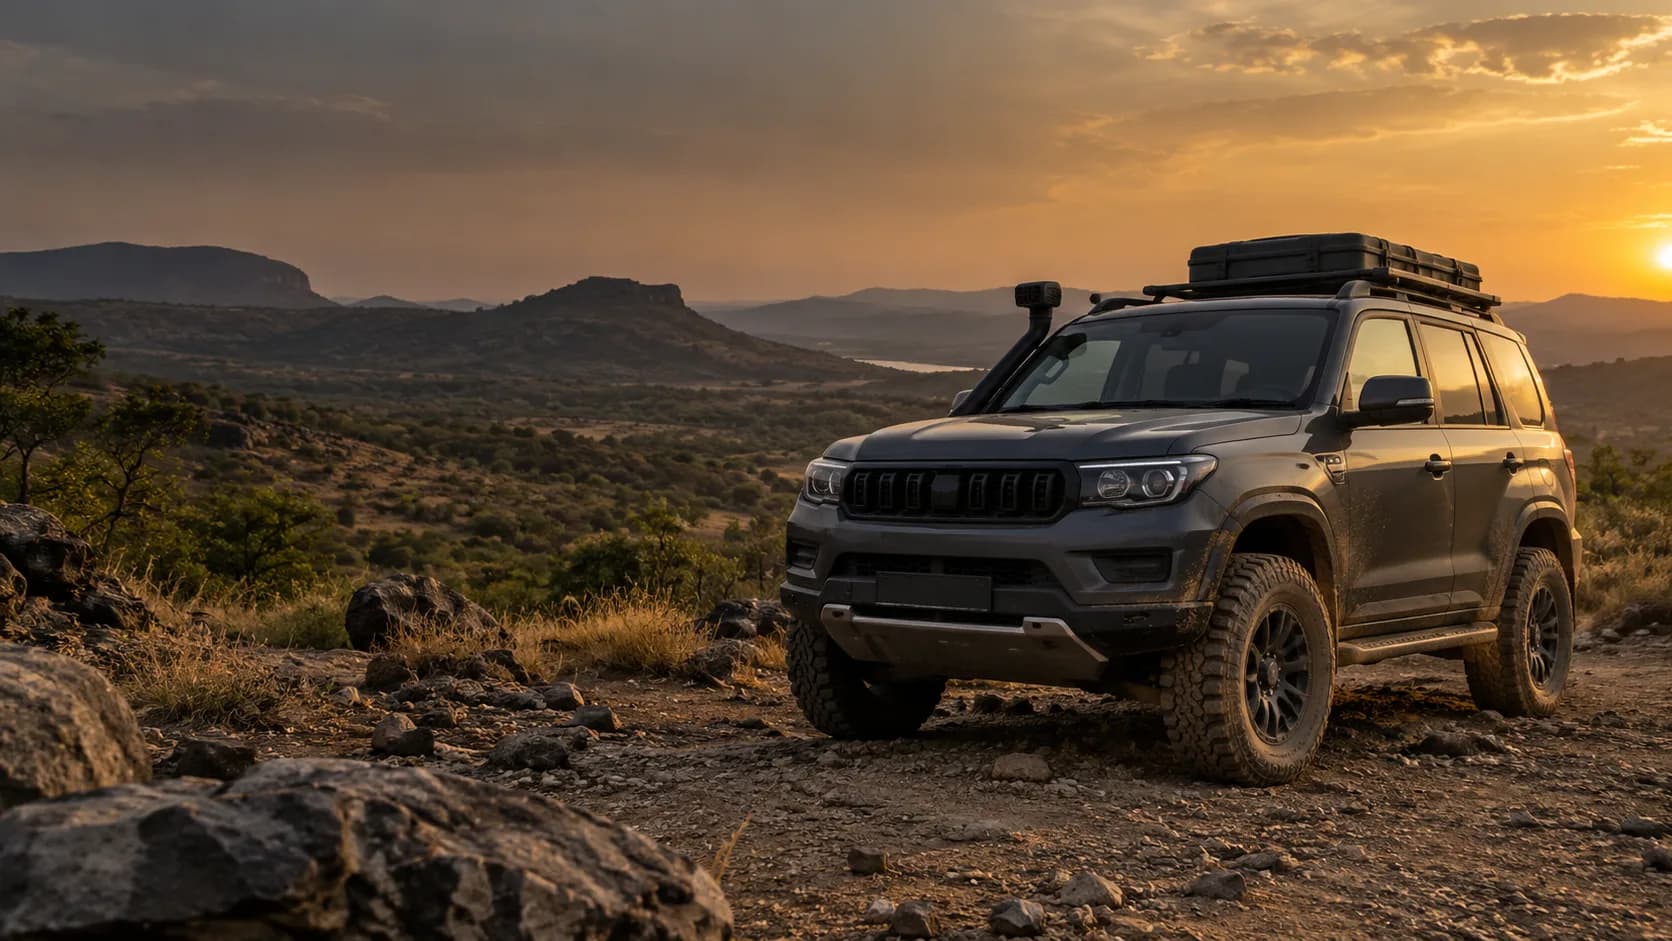
AI-generated representative scene
Quick answer
Choose your light by where you drive: spot for distance on open roads, flood for wide close-up light on trails, and a combo beam as the best single do-it-all. The right beam and colour matter far more than raw brightness — and keep it road-legal (details below).
Get a lighting setup in 10 seconds
No forms — tap how you driveWhy we recommend this
- The right beam for your speed and terrain — spot for distance, flood for close and wide — actually helps you see, far more than raw brightness does.
- The correct light colour cuts through fog, dust and rain instead of bouncing back at you.
- Sensible mounting and wiring means lights that survive the trail and don't dazzle other drivers.
Things to consider
Cost
- Good auxiliary lights plus proper wiring and switching cost more than cheap kits, but last and perform far better.
- You may need to size the electrical system for the extra load.
Trade-offs
- Roof bars add wind noise, height and drag, and often aren't road-legal.
- More lights mean more electrical load and wiring to protect.
Common beginner mistakes
- Buying for maximum lumens instead of the right beam pattern.
- Very cool-white light that glares back in dust and fog.
- Using off-road-only lights while driving on the road.
Legal
- Auxiliary lighting must comply with road rules — check what's allowed before fitting and using (details in compliance below).
Beam patterns at a glance
Pick by the light you actually need — not by watts.
Spot / pencil
Narrow, long throw.
Best for
- Open, fast, dark highways
- Seeing far down the road
Avoid if
- Tight trails — too narrow
- Fog/rain — glare bounces back
- Beam
- Distance
Flood / spread
Wide, short-to-medium.
Best for
- Jungle & technical trails
- Lighting the track edges
Avoid if
- You need long-range reach
- Beam
- Spread
Combo
Best all-roundSpot centre + flood outer.
Best for
- One do-it-all setup
- Ghats & mixed touring
Avoid if
- You have a very specific single need
- Beam
- Reach + spread
Fog lamp
Low-mounted, wide, selective-yellow.
Best for
- Rain, fog and dust
- The closest-to-legal auxiliary
Avoid if
- You want distance — it's not a driving light
- Mount
- Below headlamp
Safety, ownership & compliance(road-legal use, wiring, maintenance & warranty)
Stay road-legal
Auxiliary lighting must comply with applicable road regulations — verify the current requirements before installation and use. As a general guide:
- Number of lamps: keep to a small number of front-facing lamps.
- Colour: white or selective-yellow only — avoid blue lights and very cool-white tints.
- Behaviour: beams must be steady (no flashing/strobe), and must be dipped or switched off for oncoming traffic — never dazzle other drivers.
- Roof LED bars: generally off-road use only. They are not road-legal and should be covered or switched off on public roads.
- Fog lamps: a fog lamp mounted low, below the headlamp line, in white or selective-yellow is the closest-to-legal auxiliary for weather.
Choosing output & beam
Match the light to the job, not the highest lumen number.
- Choose the beam pattern based on driving speed and terrain, not brightness alone — spot (distance), flood (wide/close), combo (both), or a driving beam (wider than a spot but with more reach than a flood) which suits fast touring and highway driving.
- Rough guide: lower output for touring and general night driving, mid output for regular off-road, very high output only for specialist off-road use.
- Colour temperature matters: selective yellow cuts through fog, dust and rain; a balanced white is best all-round; very cool white can increase glare and backscatter in dust/fog.
Mounting & aiming
- Spot and flood lamps mount on the front bumper/grille, fog lamps low, and scene/work lights to the side or rear for stationary use only.
- Don't mount lights where they obstruct airflow, cameras or safety systems.
- Aim lights on level ground after installation to maximise visibility and minimise glare for others; re-aim after suspension changes or heavy off-road use.
- Where lights are regularly exposed to gravel or rock, consider protective covers or stone guards.
- Roof-mounted light bars add wind noise, vehicle height and aerodynamic drag, and should only be used where legally permitted.
- Fit switches where they can be operated safely without taking your eyes off the road, and clearly label multiple lighting circuits.
Electrical load & wiring
Lights add to the electrical system — size and protect it properly.
- Ensure wiring, relays, fuses and battery/alternator capacity suit the combined load (lights + winch + compressor + fridge).
- Use appropriately rated wiring, relays and a fuse for every circuit; don't share high-current circuits unless designed for it.
- Some vehicles require CAN Bus interfaces or dedicated switching modules for auxiliary lighting — confirm compatibility before installation.
- Protect wiring from heat, sharp edges and moving suspension components.
Weather protection & maintenance
- Choose an ingress rating suited to your conditions (higher for frequent water crossings).
- After deep water crossings or pressure washing, inspect lights for moisture and damaged seals.
- Inspect mounting brackets and fasteners regularly, especially after corrugated roads or prolonged off-road driving — LED failures are more often caused by vibration than water.
- Dust accumulation reduces lighting performance — clean lenses regularly during extended trips.
- Regularly inspect harnesses, relays, fuses, brackets and lenses for damage or water ingress; clean lenses to maintain performance.
Legal & responsible use
Road legality is the constraint that trips people up.
- Use only road-legal lighting on public roads; scene/work and high-output off-road lights are for off-road or stationary use, never while driving on public roads.
- Auxiliary lighting must comply with applicable regulations — verify current requirements with the relevant authorities.
- Poorly installed lighting may affect warranty for electrical modifications; use vehicle-specific mounting where available and disclose significant electrical modifications to your insurer where required.
Informational guidance only — not professional advice or a safety guarantee. Follow your vehicle and component manufacturers' instructions, verify against current local regulations, and consult a qualified specialist for safety-critical work.
Where to next
Buy it · get it installed
Advanced technical notes — wiring & aiming, do it once, do it right(deep dive)
Wiring
Run every auxiliary lamp through its own relay and fuse on a dedicated harness so the switch carries only a trigger current, not the full load. Estimate current draw as watts ÷ 12 (a 120 W pair pulls ~10 A) and size the cable and fuse to that. Use a sealed connector and an IP67-or-better lamp if you cross water.
Aiming
Aim the hotspot down onto the road, not at the horizon — a lamp aimed high blinds other drivers and lights up the sky, not your path. Set it on a flat wall at night and adjust so the brightest part lands where you want to see.
General guidance for India conditions. Road-legality rules are enforced locally — confirm the current position with your RTO, and have wiring done by a competent auto-electrician.